How to Prepare a Wall for Painting
Painting walls can be a daunting task for any homeowner, especially if one doesn’t know where to start and how to properly go about it. But the first step to having great looking walls and paint that won’t immediately fall off after application is proper preparation. Picking the right color is one thing, but making sure your surfaces are ready for proper application is the key to minimizing problems and making sure your walls are looking great after a fresh coat of paint!
First off all, you need to clear your room of obstructions. Move your furniture to another area of the house, or if that’s not feasible, move all the furniture to the center of the room and cover it up. Remove all dangling ceiling and wall fixtures such as drop lights and smoke alarms if possible. Otherwise, just cover them up using masking tape. For wall sockets and switches, remove the face plate and cover up what is left. Door knobs and handles must also be covered. And using canvas or a drop cloth as a floor covering during the painting process. You can use paper or plastic, but do remember to tape them down to make sure you don’t slip.
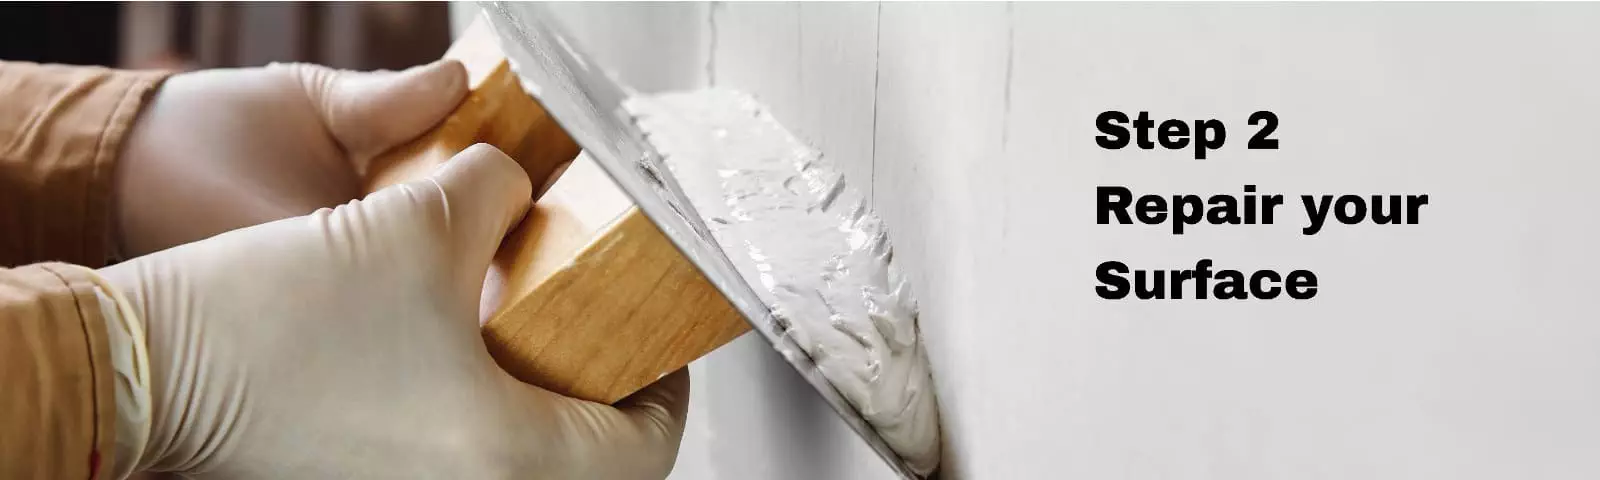
The next step is to repair the surfaces to be painted. Removing any of the old paint and wallpaper and its residue is key to ensuring your walls are painted properly. Peeling off old wallpaper, and chipping off paint is the first step to this. (And remember to stay safe and wear proper safety gear and masks, especially when dealing with paint from older houses as some types of old paint are hazardous) Vacuuming and removing dust as well with a brush or rag. Filling up holes would be the next step, using a filling knife and the correct filler for the correct surface. If it’s wood, using wood putty and a putty knife to fill up cracks and chips would be this step, if for concrete walls, spackle or wall putty is recommended. Then once those are properly filled and dried up, sand the walls properly with sand paper to have an even coat. Sanding ensures that the surface will be smooth and level, including the places where there you have repaired.
Then the proper cleaning can commence. At first one would think brushing and vacuuming is enough. But no, residue might still be left behind. Using soap and water can help remove anything that simple physical cleaning can’t do. Making sure to dry your surface well.

Now the last portion is to prime your surface. Make sure to mask the surfaces and borders on where you don’t want to paint, these are usually on the edges and borders of the door to the wall or some wooden areas you don’t want to be painted. Start with brushing the edges of the wall with a flat brush. Then using a roller brush to apply the rest of the primer, using an oil based primer for wooden walls or a water based primer for concrete walls. Letting it dry, your wall is ready for that fresh coat of paint.
But that’s just the simple steps and a short explanation on how to prepare your wall to paint. For expert consultation, you can come over to Cebu Home and Builders Cenrtre, where we have friendly and expert staff who can further answer your questions. With a wide variety of quality products from renowned brands like Boysen, Island, and Davies, we have it all to make your home improvement projects a reality.